
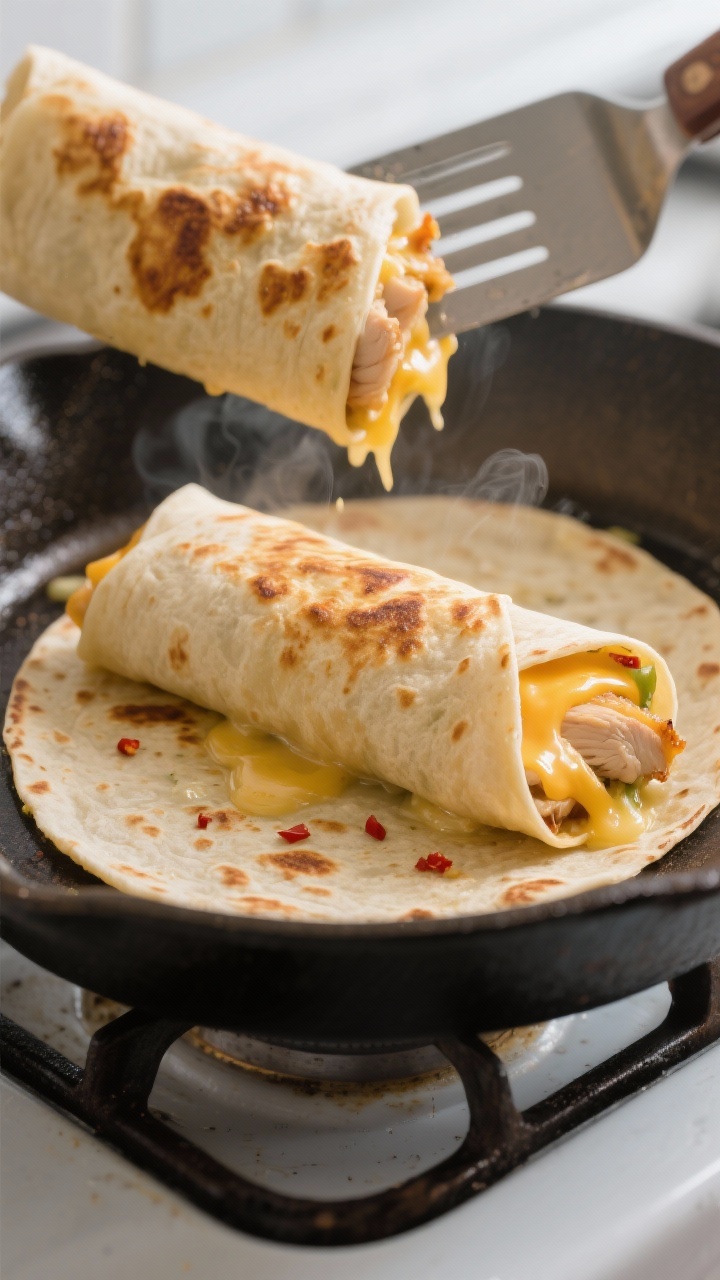
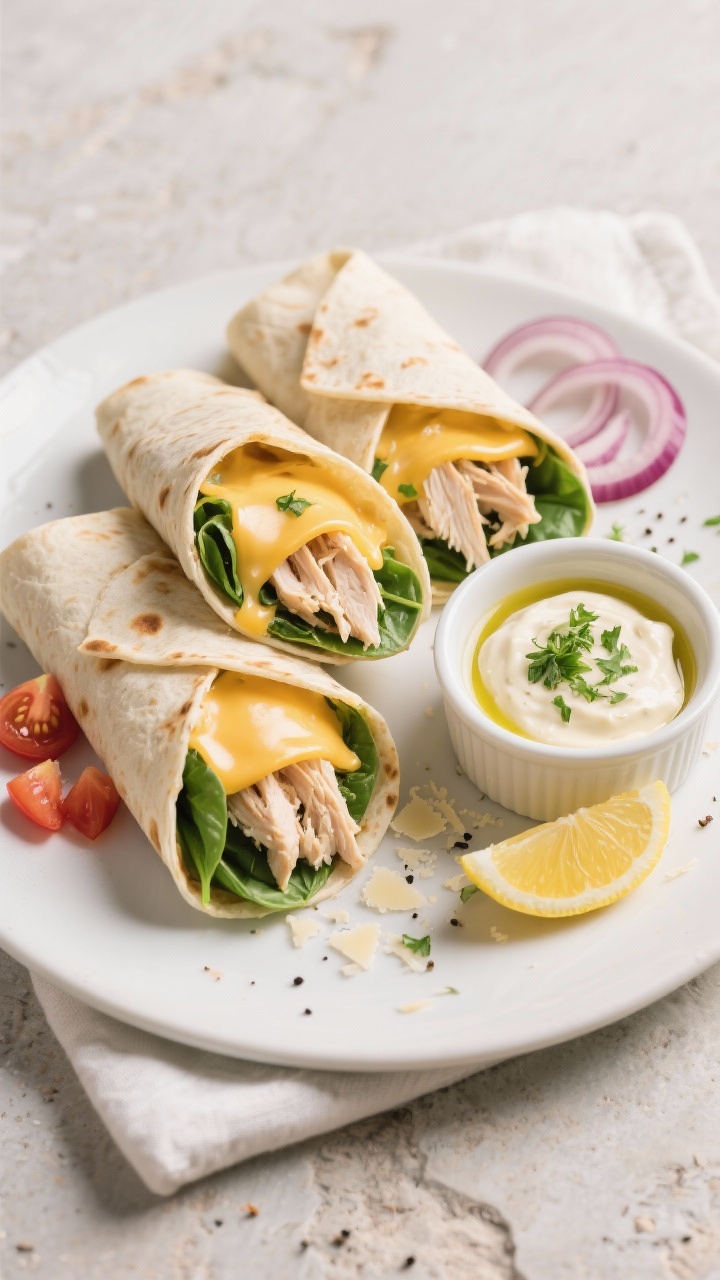
If you love the combo of melty cheese, tender chicken, and rich garlic, these wraps will hit the spot. They’re the kind of meal that feels special but comes together easily on a weeknight. You get crispy edges, gooey centers, and a burst of fresh flavor in every bite.
They’re great for meal prep, quick lunches, or a laid-back dinner. And yes, they’re absolutely kid-friendly and adult-approved.
What Makes This Recipe So Good
These wraps strike the perfect balance of creamy, savory, and fresh. The garlic butter sauce lays the groundwork for big flavor, while melted cheese ties everything together.
You can use leftover or rotisserie chicken, which makes this super convenient.
They also crisp up beautifully in a skillet or air fryer, giving you that satisfying crunch without deep frying. The ingredients are simple, but the result tastes like takeout in the best way. Plus, they’re endlessly customizable—add veggies, swap sauces, or go spicy.
Shopping List
- Cooked chicken: Shredded or diced (rotisserie works well)
- Flour tortillas: Medium or large, soft and flexible
- Mozzarella or Monterey Jack: Shredded, for meltiness
- Parmesan cheese: Freshly grated, for extra savory punch
- Butter: For the garlic butter sauce
- Garlic: Fresh cloves, finely minced
- Mayonnaise: For creaminess (or Greek yogurt)
- Lemon juice: Fresh, for brightness
- Fresh parsley: Chopped (or basil)
- Baby spinach: Or arugula/romaine for crunch
- Red onion: Thinly sliced (optional)
- Tomato: Sliced or diced (optional)
- Olive oil: For cooking
- Salt and black pepper: To taste
- Red pepper flakes: Optional, for heat
Step-by-Step Instructions
- Make the garlic butter. In a small skillet, melt 2 tablespoons butter over low heat. Add 3–4 minced garlic cloves and cook for 30–60 seconds, just until fragrant. Don’t brown it. Remove from heat.
- Mix the sauce. In a bowl, whisk 2 tablespoons mayonnaise, 1 tablespoon lemon juice, a pinch of salt and pepper, and 1 tablespoon of the garlic butter. Stir in 1–2 tablespoons chopped parsley.
- Prep the chicken filling. In a large bowl, combine 2–3 cups cooked shredded chicken with the remaining garlic butter. Add 1 cup shredded mozzarella or Jack and 1/4 cup grated Parmesan. Toss to coat. Taste and adjust salt, pepper, and red pepper flakes if using.
- Warm the tortillas. Heat tortillas briefly in a dry skillet for 10–15 seconds per side. This makes them pliable and less likely to tear.
- Assemble the wraps. Lay a tortilla flat. Spread 1–2 teaspoons of the creamy garlic sauce down the center. Add a small handful of spinach, a scoop of the chicken mixture, and optional red onion and tomato. Top with a little extra shredded cheese.
- Fold tightly. Fold the sides toward the center, then roll from the bottom up into a snug wrap. Place seam-side down.
- Crisp them up. Heat a skillet over medium with a thin layer of olive oil. Cook each wrap 2–3 minutes per side, pressing gently with a spatula, until the tortilla is golden and the cheese is melted. For an air fryer, cook at 375°F (190°C) for 6–8 minutes, flipping halfway.
- Serve with extras. Slice in half and serve with the remaining sauce for dipping. Add a lemon wedge or a quick side salad if you like.
How to Store
Fridge: Store assembled, uncooked wraps tightly wrapped in foil or parchment for up to 2 days.
For cooked wraps, let them cool, then store in an airtight container for 3 days.
Freezer: Wrap tightly in foil, then place in a freezer bag. Freeze up to 2 months. Thaw overnight in the fridge for best texture.
Reheat: Skillet over medium heat until warmed through and crisp.
Air fryer at 350°F (175°C) for 4–6 minutes. Avoid the microwave if you want to keep the tortilla crisp.
Health Benefits
- Protein-rich: Chicken provides steady energy and supports muscle recovery.
- Calcium and phosphorus: Cheese adds bone-supporting nutrients in addition to flavor.
- Garlic goodness: Garlic contains compounds like allicin, which may support heart health.
- Leafy greens: Spinach adds iron, folate, and vitamins A and K without much effort.
- Customizable balance: Use whole wheat tortillas, Greek yogurt instead of mayo, and extra veggies to keep things lighter.
Common Mistakes to Avoid
- Overstuffing the wraps: Too much filling makes them burst open. Keep layers modest and roll tightly.
- Skipping the warm-up: Cold tortillas crack. A quick warm-up keeps them flexible.
- Burning the garlic: Bitter garlic will overpower the entire dish. Cook gently and briefly.
- Dry chicken: Use the garlic butter and sauce to moisten the filling. Rotisserie or thigh meat works best.
- Low heat when crisping: Medium heat is key. Too low and they get soggy before the cheese melts; too high and they scorch.
Alternatives
- Protein swaps: Try turkey, leftover roast pork, or cooked shrimp. For a vegetarian version, use roasted mushrooms, chickpeas, or crispy tofu.
- Cheese options: Cheddar, provolone, or pepper jack all melt nicely. Add a little cream cheese for extra creaminess.
- Sauce twists: Swap the mayo-lemon mix for pesto, Caesar dressing, ranch, or a garlicky yogurt sauce.
- Flavor boosters: Add sun-dried tomatoes, roasted red peppers, caramelized onions, or a spoonful of olive tapenade.
- Spicy kick: Mix in hot honey, chipotle in adobo, or a drizzle of sriracha to the sauce.
- Gluten-free: Use gluten-free tortillas or large lettuce leaves for a low-carb wrap.
FAQ
Can I use raw chicken?
Use cooked chicken for this recipe.
If starting with raw, season and cook it first—pan-sear or roast until fully cooked, then shred or dice before assembling the wraps.
What’s the best cheese for melting?
Mozzarella or Monterey Jack melt smoothly and give that stretchy texture. For extra flavor, combine them with Parmesan or a little sharp cheddar.
How do I keep the wraps from getting soggy?
Pat any wet veggies dry, avoid excess sauce inside, and crisp the wraps in a hot skillet or air fryer. Serving the sauce on the side for dipping also helps.
Can I make these ahead?
Yes.
Assemble up to a day ahead without tomatoes or wet ingredients, refrigerate, and cook just before serving. Or cook and reheat in a skillet for a few minutes per side.
What size tortillas should I use?
Medium or large tortillas work best. If they’re too small, they’ll tear when you fold.
If they’re oversized, you may need more filling to keep them balanced.
Is there a dairy-free option?
Use dairy-free butter and vegan cheese, and swap the mayo for a dairy-free or olive-oil-based alternative. The garlic and herbs will still deliver big flavor.
What sides go well with these wraps?
Try a simple green salad, roasted potatoes, tomato-cucumber salad, or a light slaw. For a dip, garlic yogurt, ranch, or marinara are great matches.
In Conclusion
Cheesy Garlic Chicken Wraps are simple, comforting, and full of crowd-pleasing flavor.
With a few pantry staples and tender chicken, you can pull off a satisfying meal in minutes. Keep them classic, or personalize the filling and sauce to suit your mood. Either way, you’ll end up with a crispy, cheesy wrap that’s hard to beat any night of the week.